With Upservice, you can create a form to collect customer contact information and receive inquiries. The form works completely independently. You can publish a link to it on social media or messaging apps and collect inquiries even without a website.
Information collected through the form on the website is sent to the "Contacts" section within Upservice.
The website form will allow you to collect customer feedback, arrange pre-registration, evaluate service quality, collect applications, and much more.
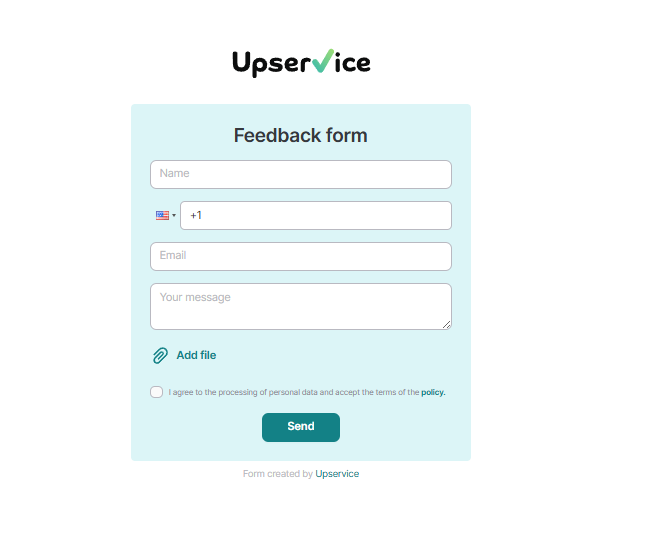
The form is adapted to all screen resolutions and platforms. It might look like this:
Information collected through the form on the website is sent to the "Contacts" section within Upservice.
The website form will allow you to collect customer feedback, arrange pre-registration, evaluate service quality, collect applications, and much more.
The form is adapted to all screen resolutions and platforms. It might look like this:
Let's figure out how to create a high-converting form for collecting customer contact information.
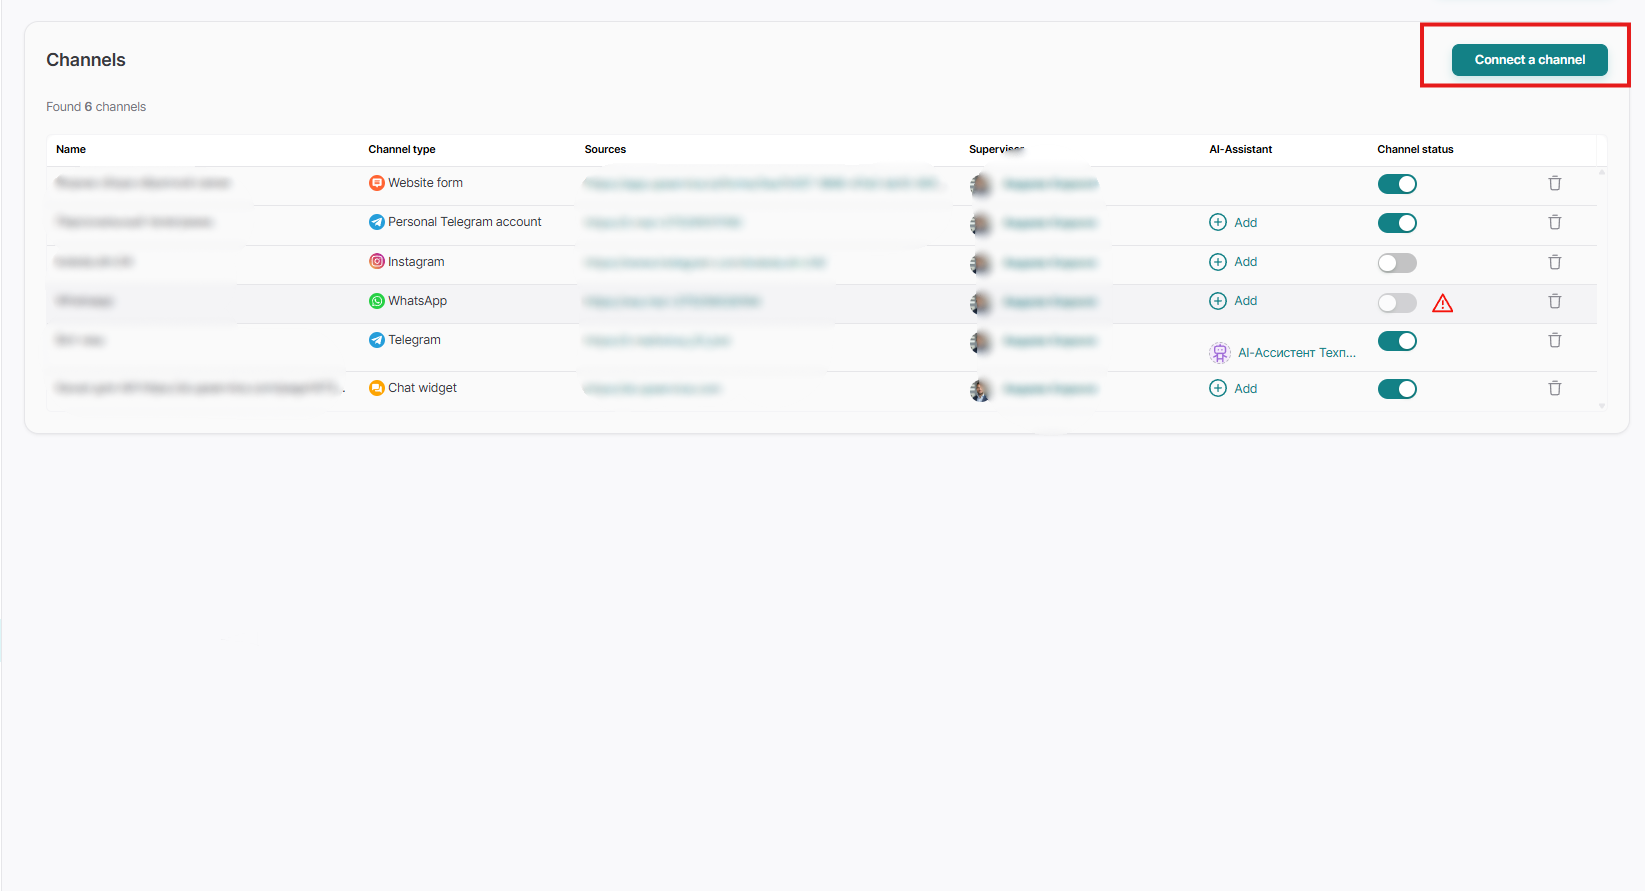
To create a form on the website, go to the "Settings" section, go to the "Channels" tab, and click the "Connect Channel" button.
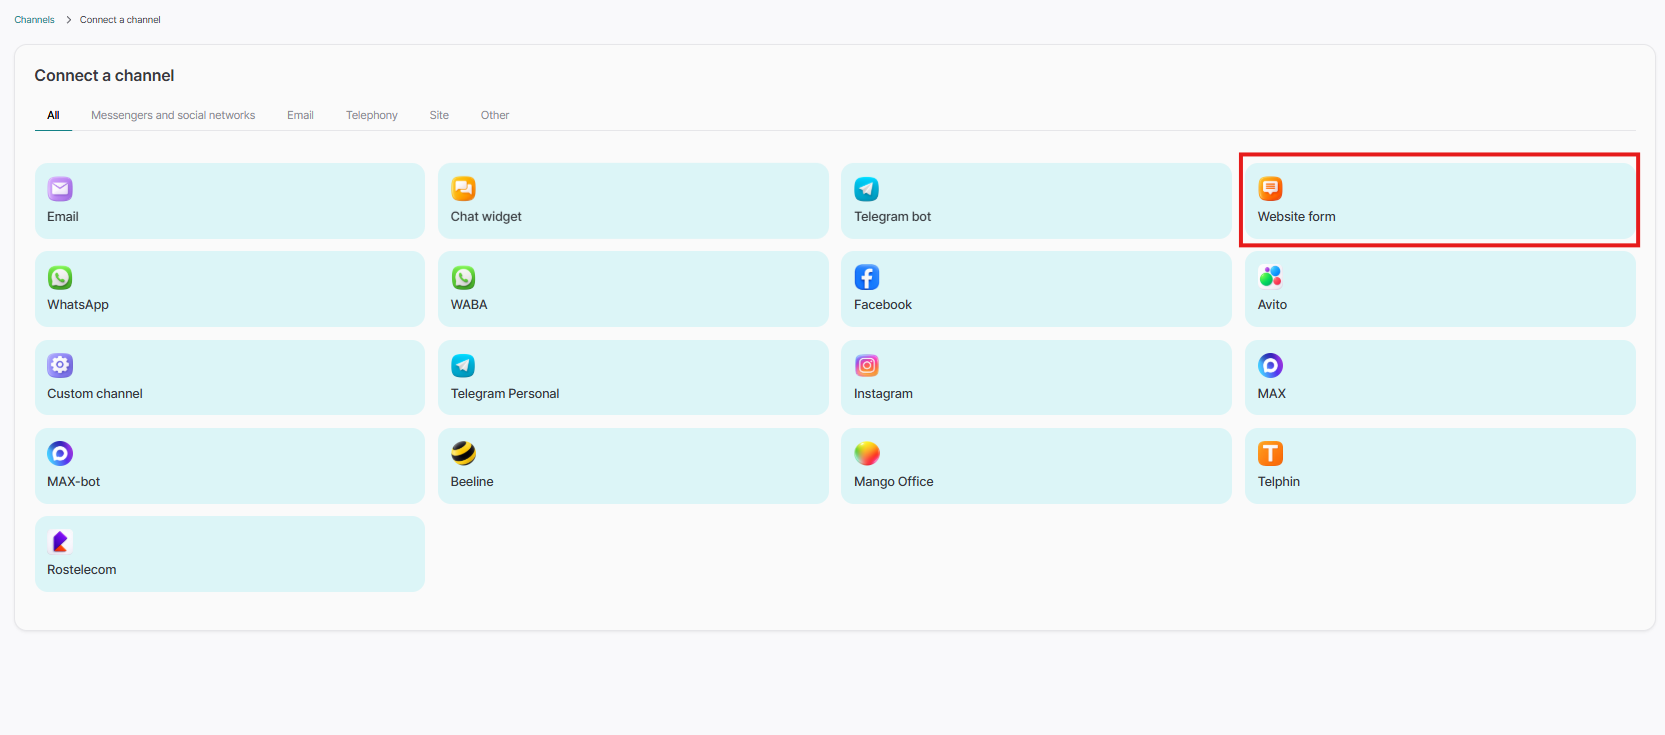
Select the channel type "Website form":
Fill in the fields:
- Channel name — a name that reflects the purpose of the chat. For example, "Facebook for clients" or "Facebook for support". This name is available only to colleagues, clients will not see it;
- Supervisor — this is the only employee who can be assigned to this role. They have the right to add or remove operators, as well as change channel settings and communicate with clients;
- Managers — company employees who will communicate with the users of your site;
- Tags - if you specify any of the tags in the channel, then all subsequent contacts that will be created for you through this channel will immediately arrive with an ALREADY assigned tag. This will be the tag that you selected at the channel creation stage;
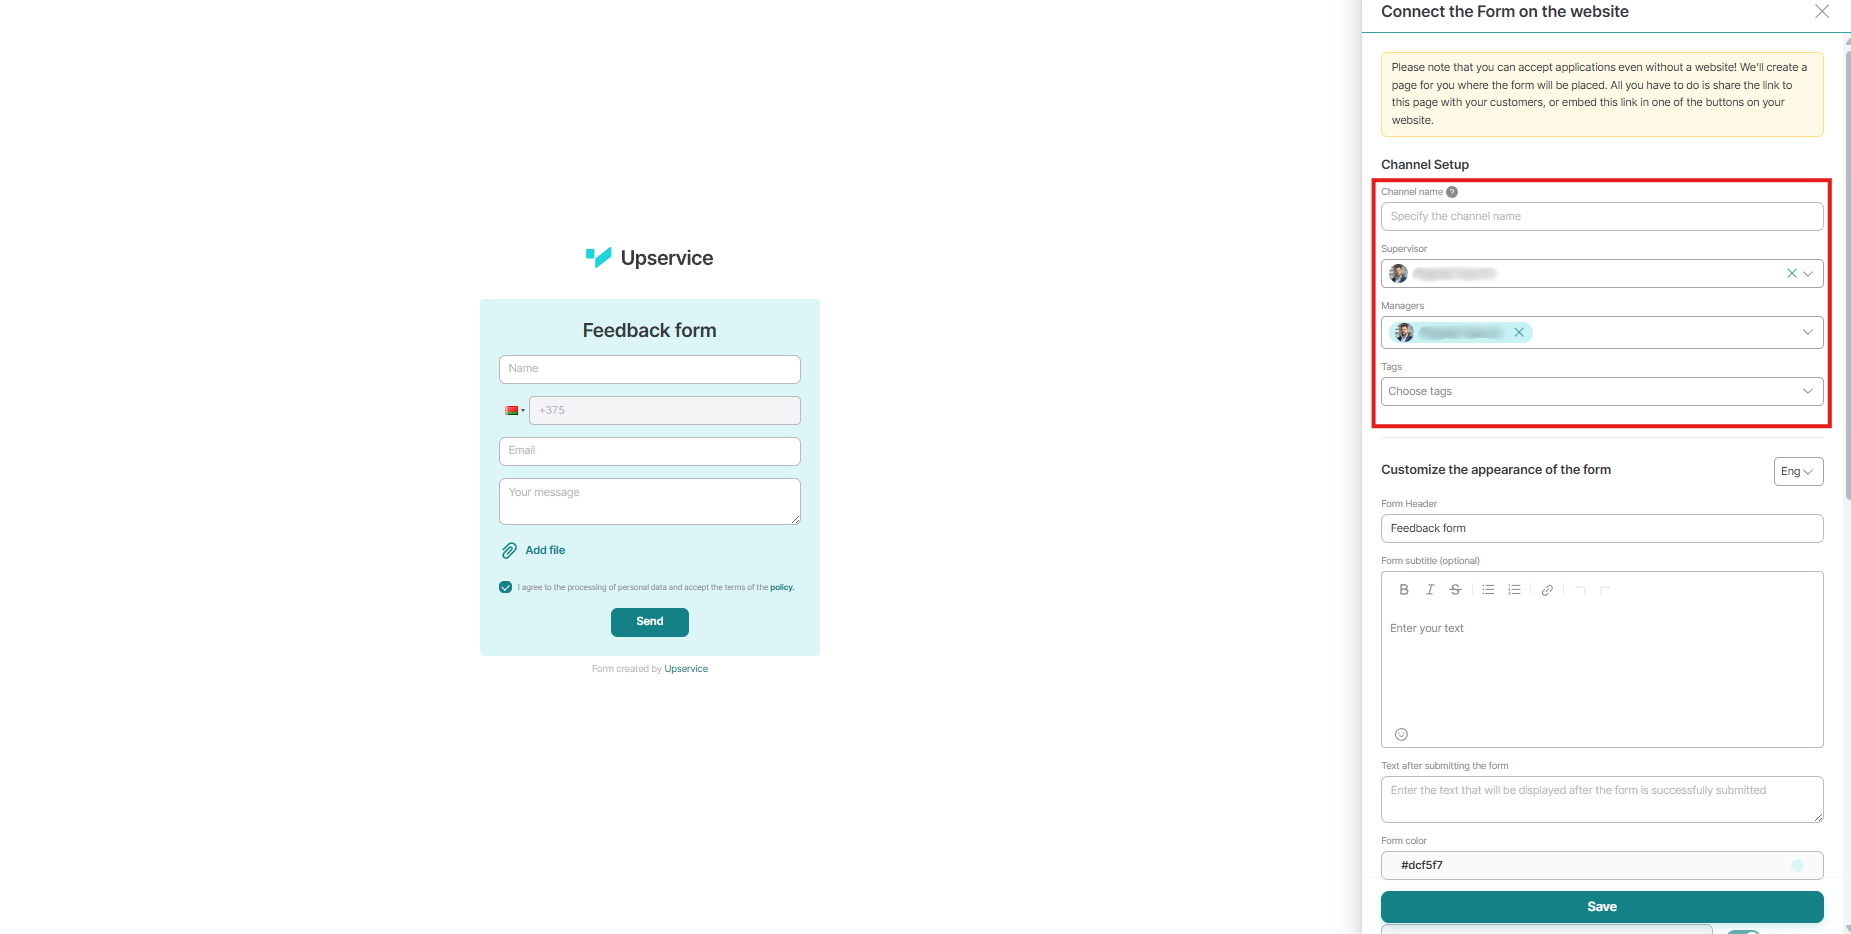
- Form Header - is the text that appears below the logo and centered on the form. In the example below, the title is "Contact Form."
- Form subtitle (optional)
- Text after submitting the form
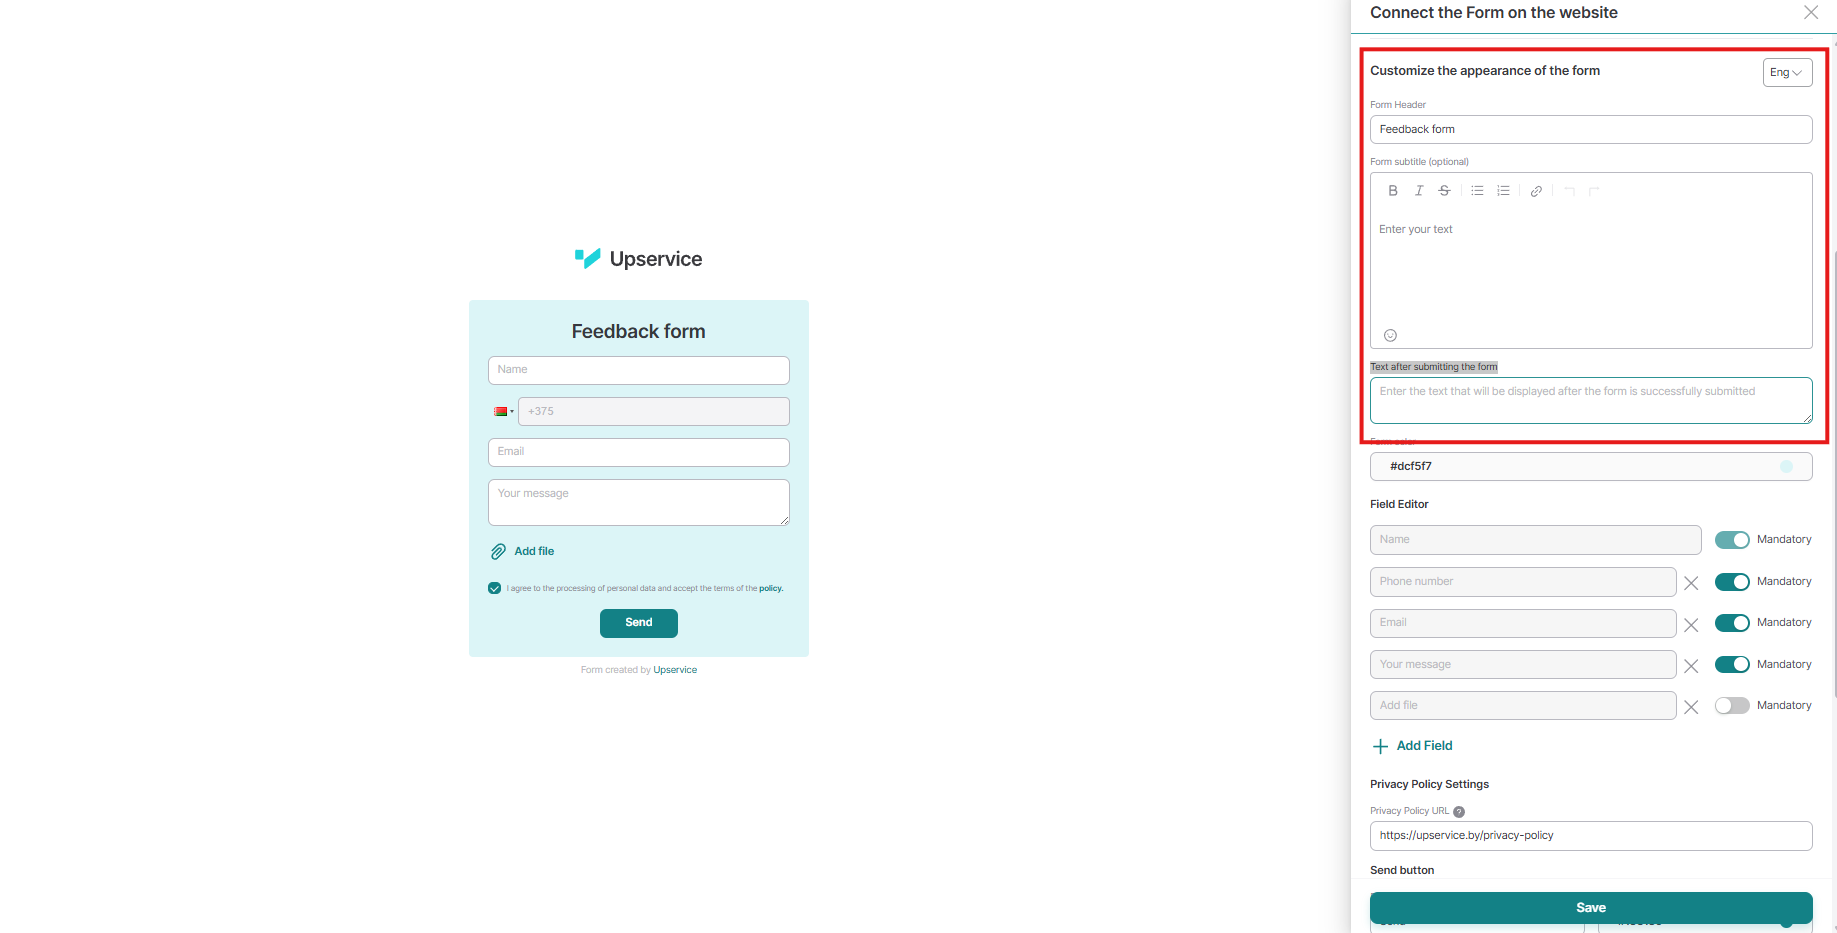
By scrolling down the form builder, you need to specify the fields that your client must fill out.
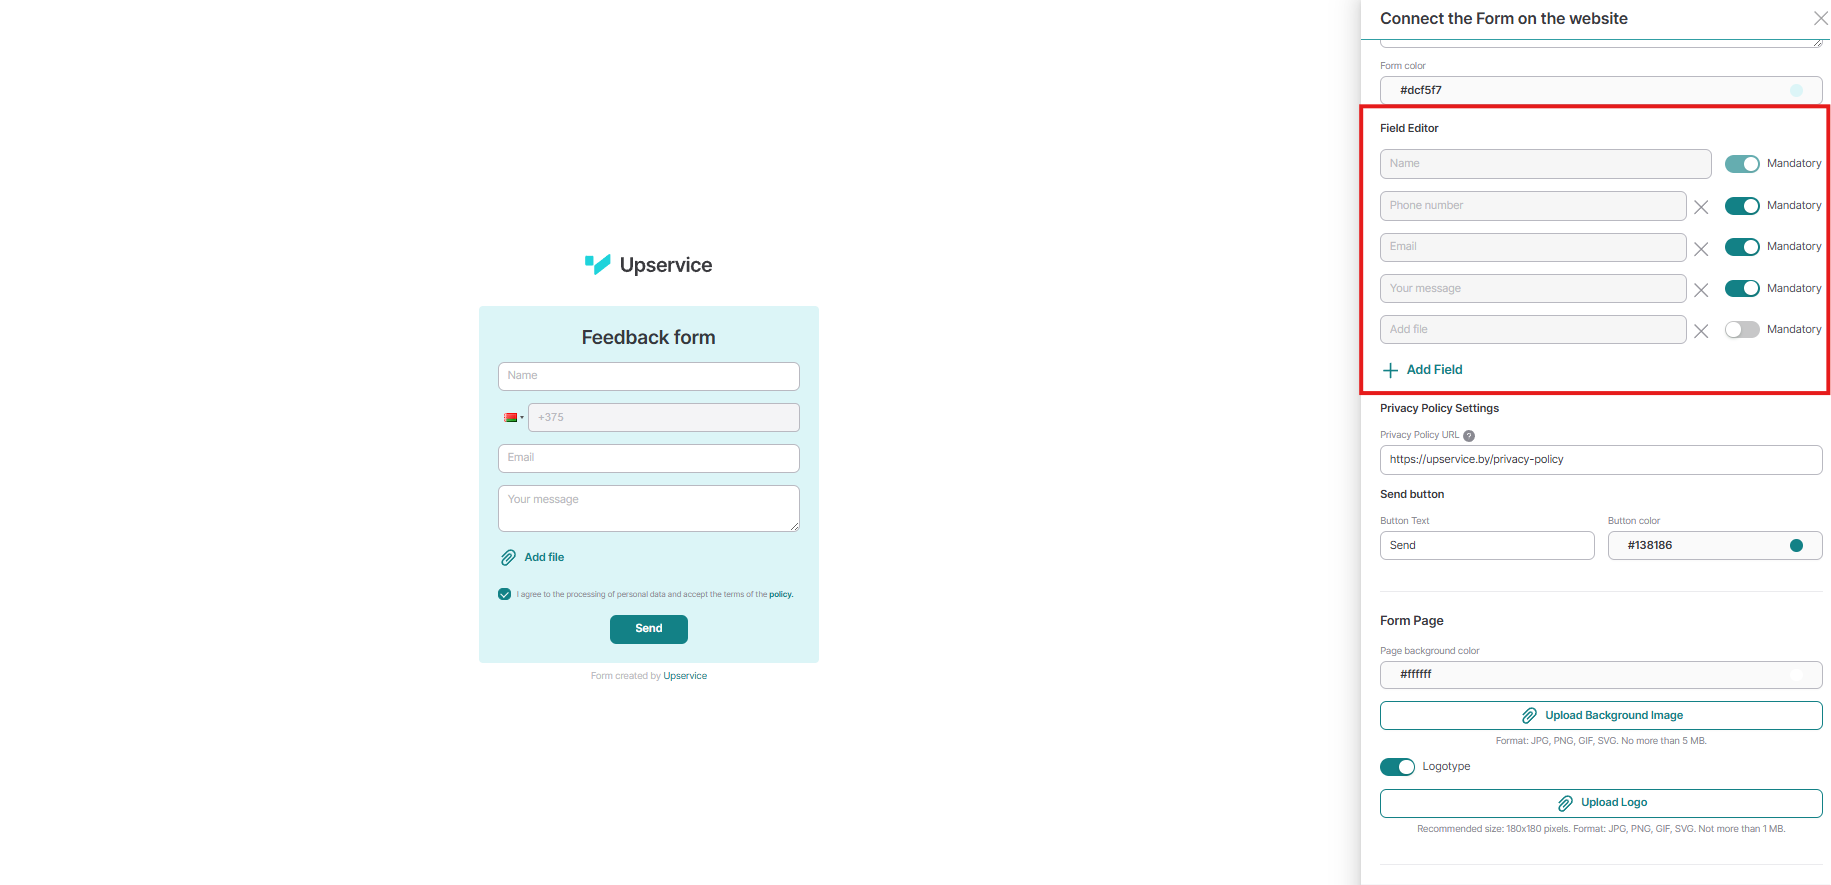
The "Name" field is always required and cannot be changed.
The "Phone" and "Email" fields are also required. This means you can't disable both at the same time. Disable "Phone," and "Email" becomes required. Disable "Email," and the phone field becomes required. This ensures you always have some form of customer contact information. The "Add File" field allows your customer to attach a file. You can disable the "Add File" field or remove it entirely, as it's optional.
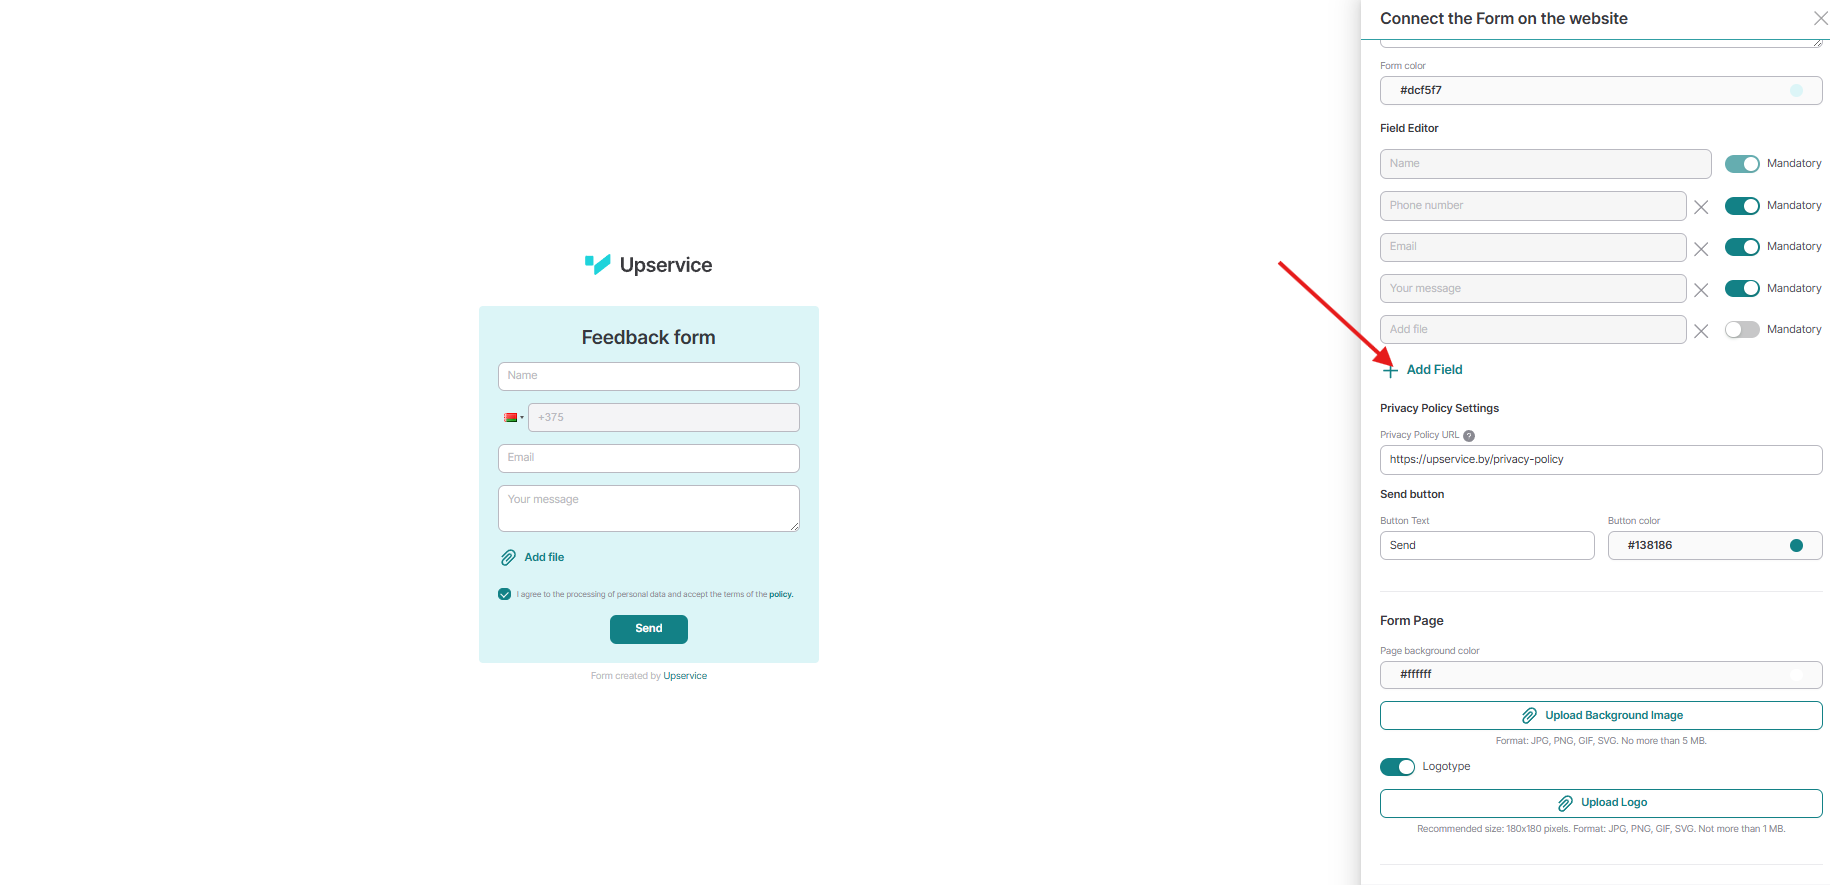
If needed, you can add your own field, such as "City" or "Age." To do this, click the "Add Field" button.
The "Phone" and "Email" fields are also required. This means you can't disable both at the same time. Disable "Phone," and "Email" becomes required. Disable "Email," and the phone field becomes required. This ensures you always have some form of customer contact information. The "Add File" field allows your customer to attach a file. You can disable the "Add File" field or remove it entirely, as it's optional.
If needed, you can add your own field, such as "City" or "Age." To do this, click the "Add Field" button.
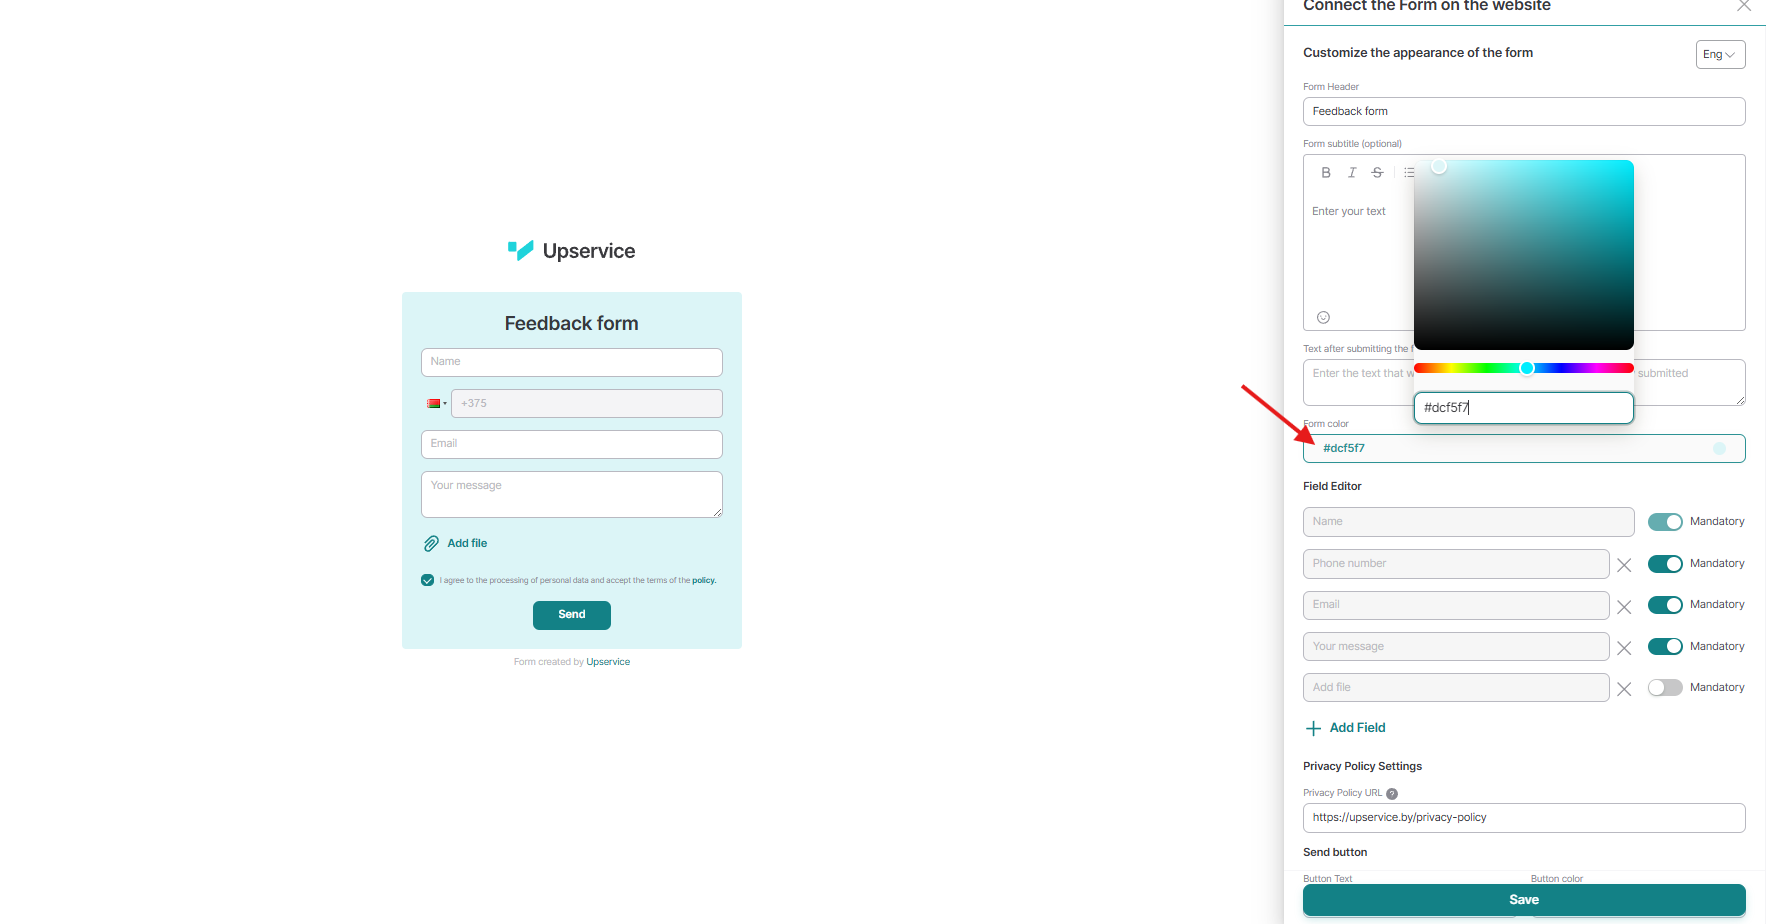
You can change the uniform color. To do this, click on the "Form color" field and select the desired color.
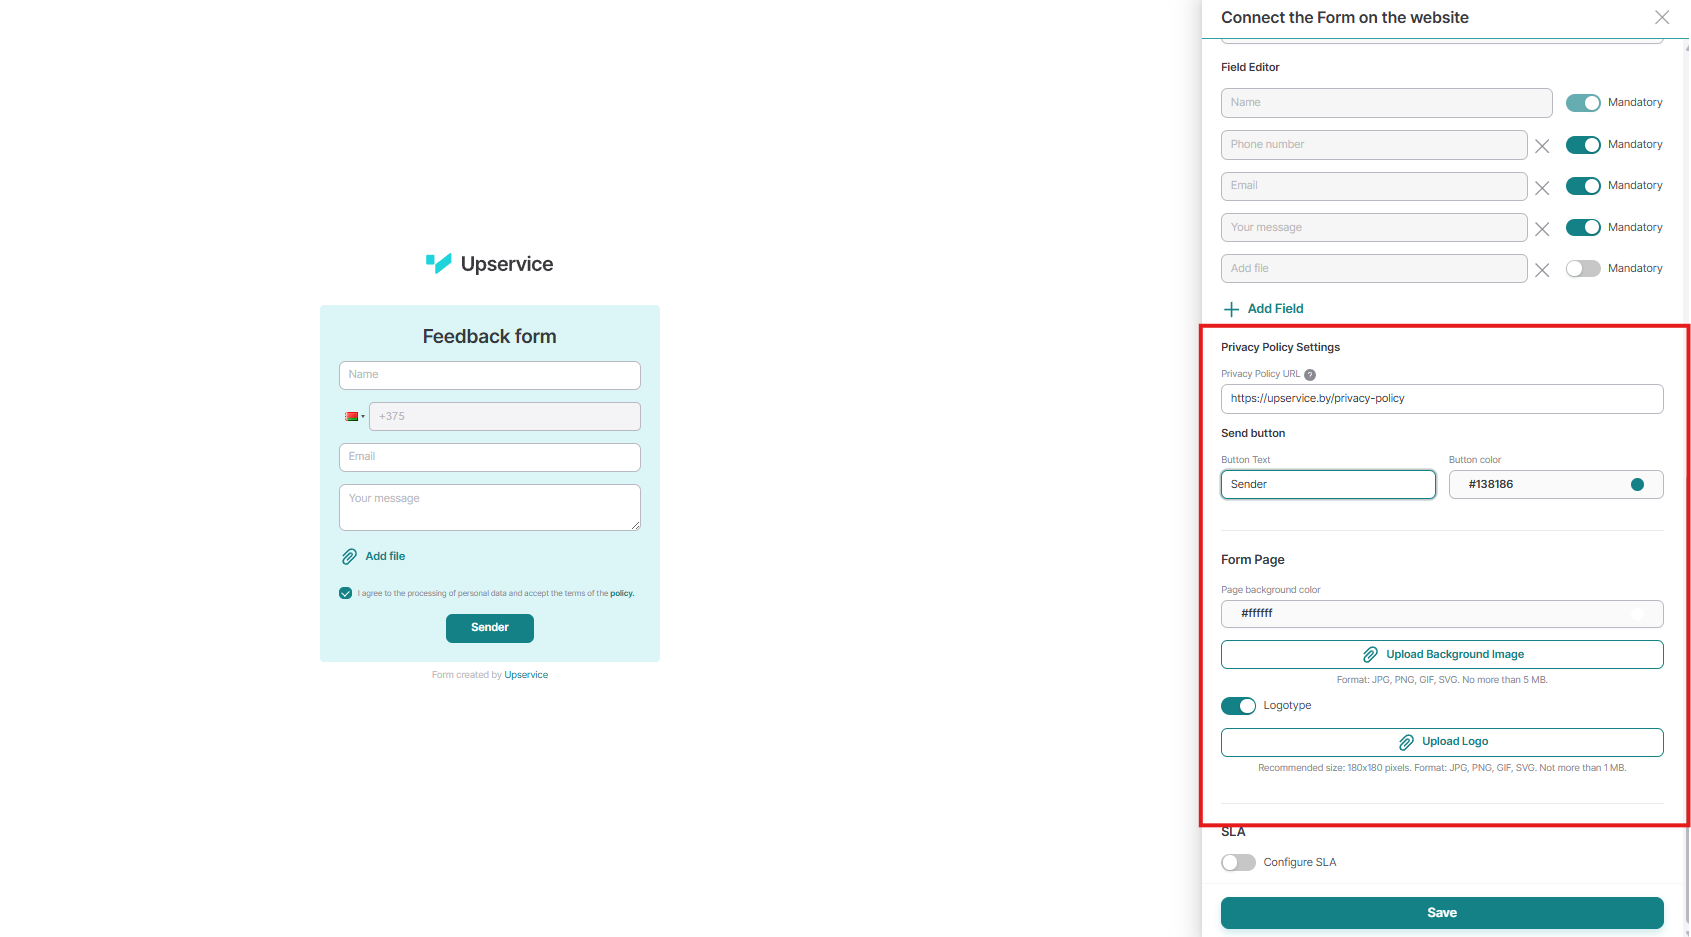
The final stage of setting up a form on a website is its design.
You can change the button text and color. To do this, click the corresponding fields.
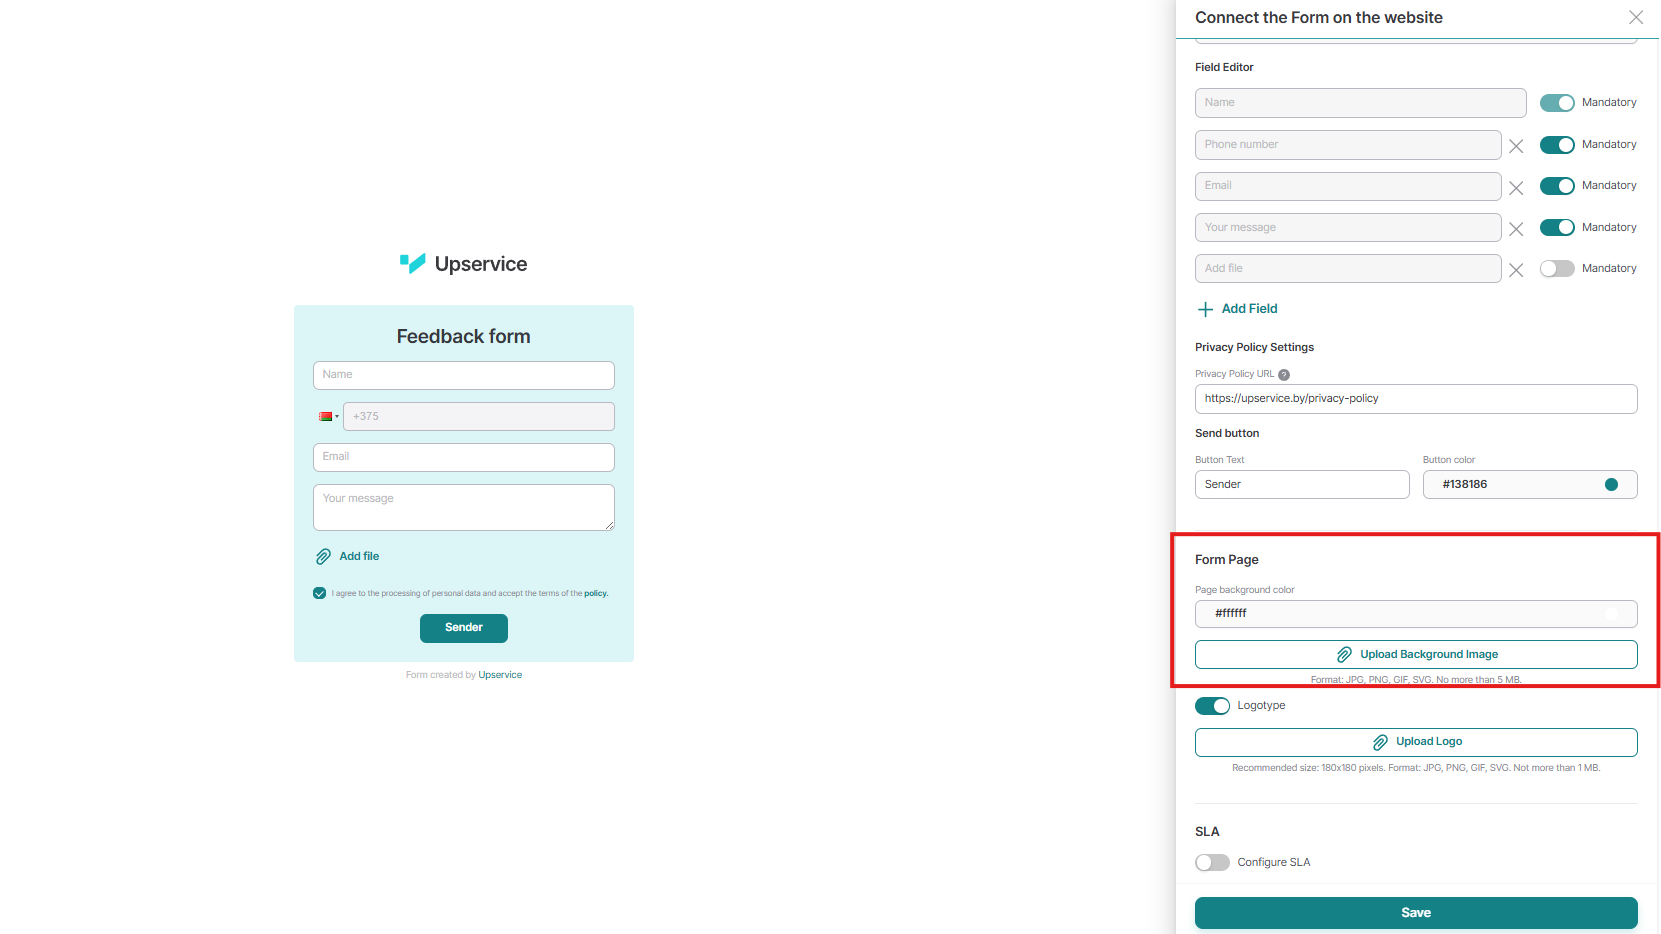
To give your form a personal touch, use a background. If a uniform fill isn't suitable, you can use an image. Here's what it might look like.
Supported formats: JPG, PNG, GIF, SVG, no larger than 5 megabytes. We strongly recommend uploading images no larger than 2 megabytes. This will help your page load faster and increase your form's conversion rate.
Supported formats: JPG, PNG, GIF, SVG, no larger than 5 megabytes. We strongly recommend uploading images no larger than 2 megabytes. This will help your page load faster and increase your form's conversion rate.
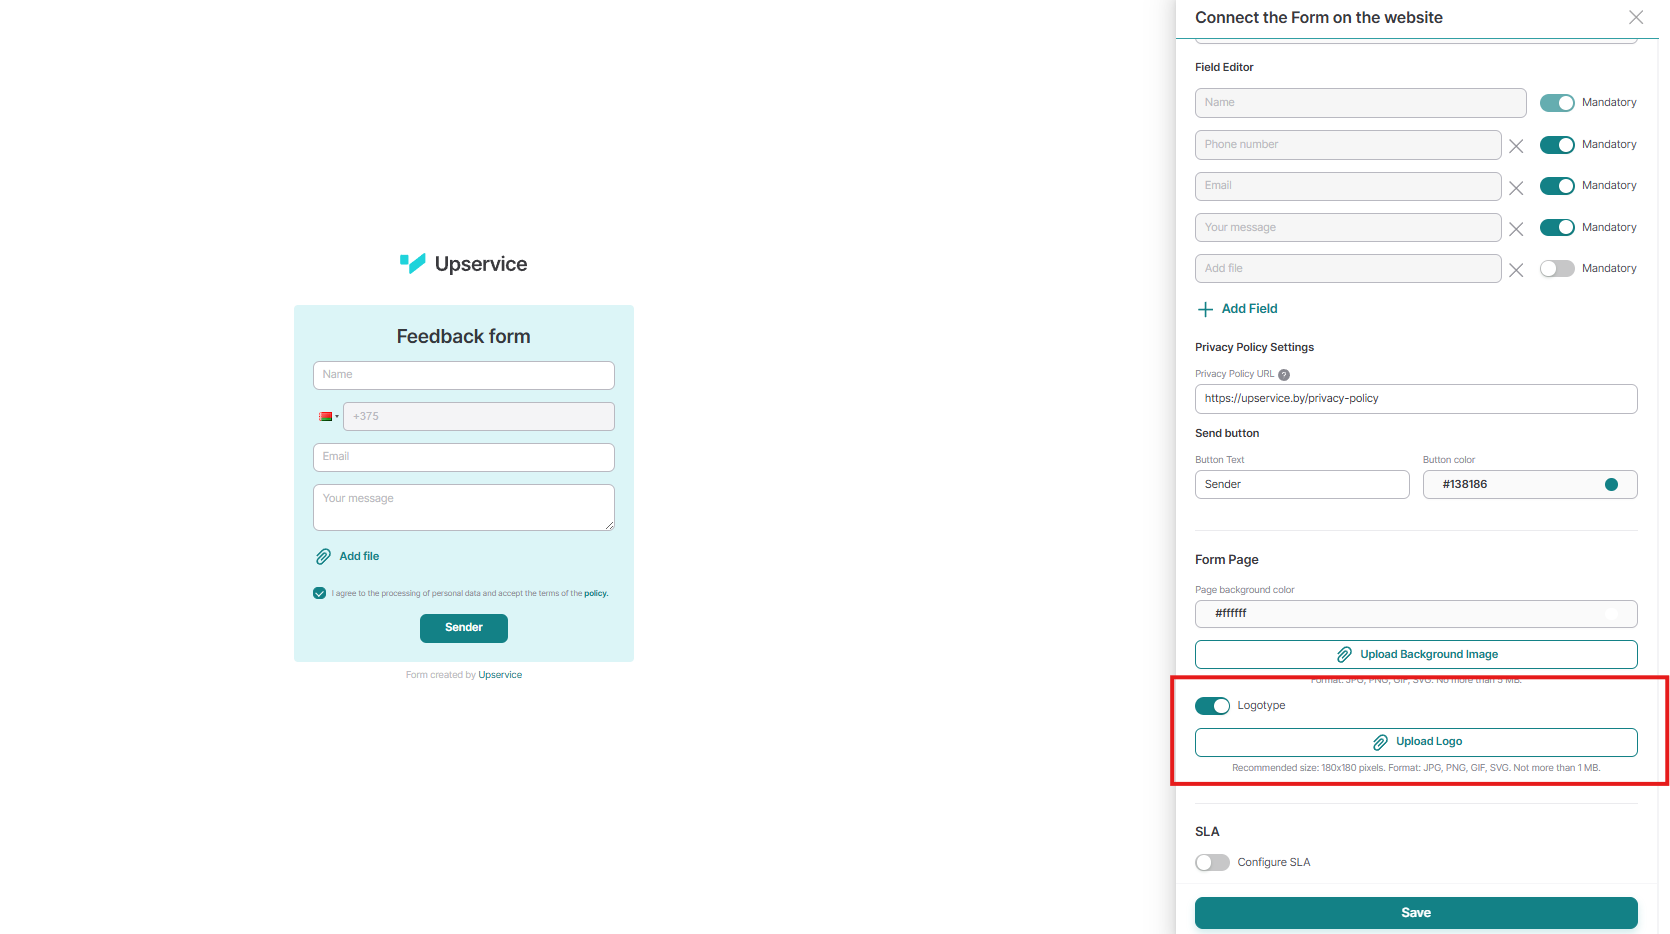
You can place your logo above the form. To do so, click the "Upload Logo" button. The recommended size is 180x180 px. Format: JPG, PNG, GIF, SVG. No more than 1 MB.
After making changes, click "Save." Upservice will generate a link to the form.
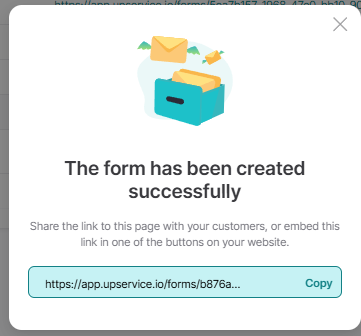
Now you can place a link to the form on your website, Telegram channel, or social media and receive requests from your clients directly in Upservice!